


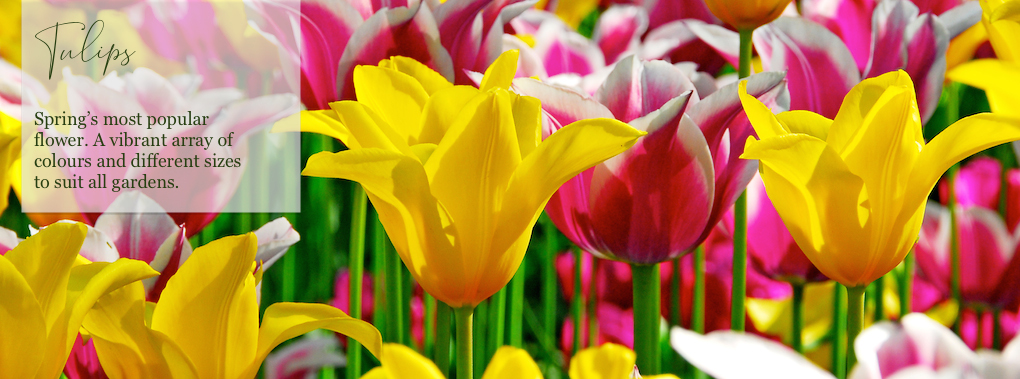
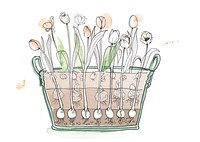
Planting tulips in the autumn months for a stunning display the next spring really is a satisfying job to do. Watch them grow and brighten up your garden pots or borders with the many different colours and styles we have to offer. Tulips come in different varieties from the standard single tulip to Lily-flowering tulips. There’s something for everyone!
When should I plant my tulips?
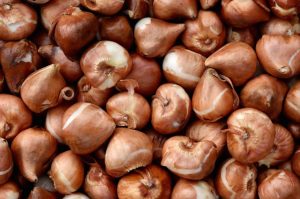
Planting tulip bulbs at the right time is crucial for their growth and development. Typically, tulip bulbs are planted in the autumn. This allows them to establish roots and prepare for winter dormancy. Tulips need to be planted preferably in October/November (in the UK), after the first frosts as this will wipe out any viral and fungal diseases that may be in the soil and which may infect the bulbs. Planting later in the year means there is less risk of disease and this is when the tulip bulbs start putting their roots down.
If you live in a warmer climate or an area with mild winters, you can still plant tulips but will need to chill your bulbs in a refrigerator for several weeks beforehand. This mimics the cold temperatures necessary for successful growth.
By following these guidelines and choosing the appropriate time to plant your tulip bulbs, you’ll be well on your way to beautiful blooming flowers come springtime!
Planting tulips in the garden
Find a location with full sun or partial shade and dig a hole about 20cm (7-8″) deep allowing 12cm (4-5″) of soil above the tip of the tulip. If you find your garden has heavy soil, add horticultural grit or sand to the base of the hole. Ensure to plant the tulip bulbs with the pointy end facing upwards.

Plant the tulip bulbs, pointy end up, about 8cm (3″) apart and cover with soil. If you find your garden is short of space, you can plant your bulbs like layering a lasagne. Cover the first layer of bulbs with a thin layer of soil, then add another layer of bulbs before filling in the hole. After planting, water the Tulips well, gently soaking the soil to settle it around the bulbs.
Planting tulips in pots
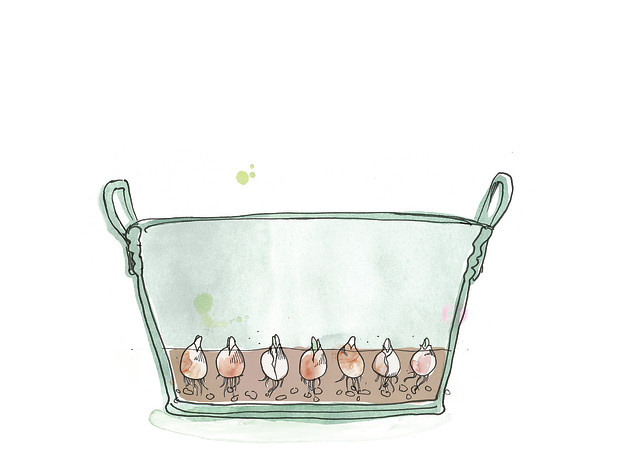
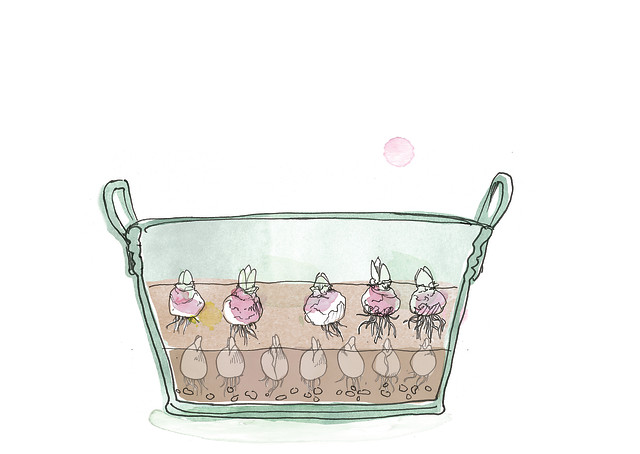
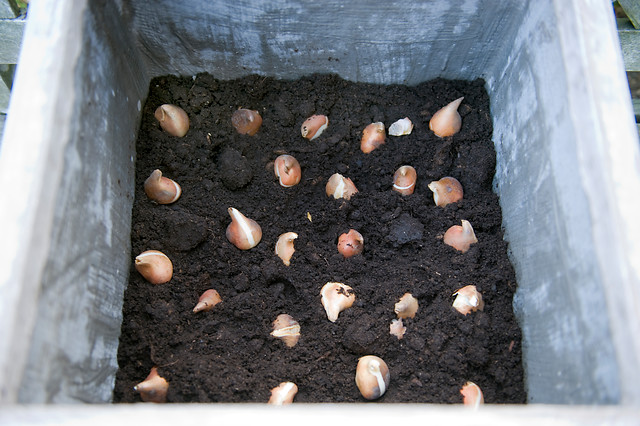
If you are planting your tulips in pots, find a large container and fill it with good-quality, multi-purpose compost. Ensure there is adequate draining holes. Again, plant 12cm (4-5″) below the soil surface. To get full and luscious pots full of spring flowers, we recommend layering your bulbs like making a lasagne. The Dutch call this a bulb lasagne. Simply plant your bulbs deeper to start with, with the largest or latest flowering bulbs further down, moving to the smallest and earliest flowering in the top layer. The shoots from the lower bulbs will find their way around the other bulbs. The first layer can go as deep as 28-30cm (11-12″), then cover them over with 5cm (2″) of compost, before you place the next layer of bulbs. After planting, water the Tulips well, gently soaking the soil to settle it around the bulbs.
Caring for your tulips
- Deadhead the flowers during the season before the petals fall off.
- After flowering has finished for the season leave the foliage in place; don’t cut it off. The leaves will gather sunlight, create food through photosynthesis and strengthen the bulbs for the future.
- Water as needed during active growth periods.
- By mid summer the leaves may yellow and die back. Foliage may be removed at this point.
- Some tulips flower well for one year and then need lifting out of the soil and carefully stored if you want to use them again. Once everything has fully died back, you can lift them and store them in a dark, dry, airy place over summer, allowing the air to circulate around them. They can then be replanted in the Autumn.
- If you want your bulbs to last, you could feed them with a Slow Release Fertiliser in early Spring.
![]()
Tulips with other spring flowers
What is the aftercare for tulip bulbs once they have flowered?
Once the tulip bulbs have bloomed, they will require special attention and care to ensure their health. Aftercare for tulip bulbs involves taking steps to promote healthy growth, preventing disease, and preserving the bulb for future seasons.
The first step in aftercare is deadheading the flowers once they start to wilt. This process helps redirect energy from seed production back into the bulb. Deadheading also improves plant aesthetics by promoting a neater appearance.
Another essential aspect of aftercare for tulip bulbs is watering them adequately. Tulips prefer well-draining soil that doesn’t retain too much moisture. Watering should be done carefully so as not to damage or displace the bulbs.
It’s also essential to remove any yellowing or diseased leaves from your plants regularly. Doing this prevents diseases from spreading and promotes a clean environment for healthy growth.
After flowering has ended, it’s time to prepare your tulips for winter dormancy by removing all dead foliage entirely. You may also wish to lift your bulbs and store them. Keep the bulbs dry during summer months until planting again in fall season.
Caring for your tulip bulbs post-bloom requires dedication and careful attention but ultimately pays off with beautiful blooms year after year!
Aftercare tips for different types of tulips
Different types of tulips require different care in order to thrive. Here are some tips for taking care of your specific type of tulip:
1. Single Early Tulips
Single early tulips bloom in late winter or early spring and require well-draining soil. After they have bloomed, remove the spent flower heads but leave the foliage intact until it turns yellow.
2. Darwin Hybrid Tulips
Darwin hybrid tulips are known for their large blooms and sturdy stems. They prefer full sun and need to be watered regularly during dry periods.
3. Parrot Tulips
Parrot tulips have unique ruffled petals that resemble a parrot’s plumage. They should be planted in well-draining soil and given plenty of sunlight.
4. Lily-Flowered Tulips
Lily-flowered tulips have long, pointed petals that curve outwards from the centre of the flower like a lily. They prefer partial shade and moist soil.
5. Fringed Tulips
Fringed tulips have delicate fringed edges on their petals that give them a soft appearance. They do best in full sun with well-draining soil.
By following these aftercare tips, you can ensure that your different types of tulip bulbs will continue to produce beautiful blooms year after year!
Tulip Queensland with Muscari Ocean Magic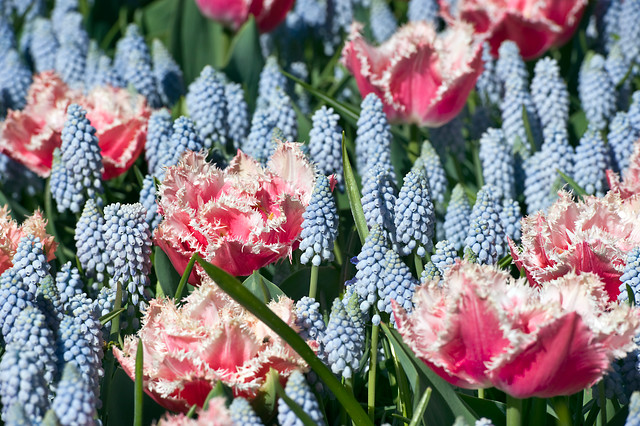
Conclusion
Aftercare for tulip bulbs is essential to ensure they continue to bloom year after year. Taking the time to plant them at the proper depth and providing adequate water during the growing season can make a big difference in their health and longevity.
Once your tulips have bloomed, it’s important to allow the foliage to yellow naturally before removing it. This allows nutrients to return to the bulb for next year’s growth. You can also fertilise your bulbs with a low-nitrogen fertiliser or compost once a month during their growing season.
By following these simple steps, you’ll be able to enjoy beautiful tulips in your garden for years to come. Don’t forget that each variety of tulip has different needs, so take care when choosing which ones you want in your garden and tailor your aftercare routine accordingly.
Happy planting!


